
- We learned about 3D geometry, what it is and how it's represented in a computer
- We learned about vertices - which are vectors with three coordinates - X, Y and Z
- We also learned about the unit vector, how to create it, and why it's useful. We went through an example of calculating the unit vector, and how it represents direction ONLY.
- We thought about how we can use unit vectors, and the direction information they contain, to calculate the trajectory and velocity of a point in any number of dimensions: https://mimicproject.com/code/c2ca838c-7c56-cff9-1e98-5ded7373bc12
- We thought about GL coordinate spaces, where 0,0,0 is in the centre of the screen by default, with 1 openGL unit in all directions being roughly visible by the camera ny default.
- We learned how a 2D perspective projection can be created by generating a value (coefficient) based on the value of the Z coordinate.
- We also learned how we can use FOV to help generate this coefficient, and how this helps us decide how big things should be, and also how far away from the origin they should be to create a sense of perspective based on how close those things are to us
- We used Scale, Translation and Rotation in the right order within our own 3D engines. We also looked at how these are expressed as matrix transformations.
- We also explored Primitives - which are collections of vertices.
- Finally we explored the concept of procedural geometry, where we create and manipulate geometric forms on the fly
- Break in to groups and discuss the work you've been doing. Come up with questions that might be helpful to explore
- How could you use a function or a class to allow you to draw more than one object?
- How can you draw the geometric forms as connected lines instead of individual points?
- This week we will be using a piece of graphics middleware to help us create more complex 3D scenes. It's called Three.js and you can find out more about it here: https://threejs.org/
- Three.js isn't a 'framework', it's a ibrary of functions that speed up the process of getting things done
- It's optimised for generating 3D scenes using WebGL. https://get.webgl.org/
- WebGL is super important and the core of more or less everything we will do in this course from now on.
- If you are interested in learning WebGL under the hood, I recommend you look at this resource: It really is everything you need to know all in one place: https://webglfundamentals.org/
- However, that is going to get pretty deep pretty fast, so in the first instance, we're going to use a piece of middleware - middleware is a professional toolkit for developing something - in this case, 3D graphics scenes.
- Geometry / Models - what they are and how to think about them
- Materials - what makes up a material and how do we use them?
- Textures - creating and mapping textures
- Lighting - creating simple lighting in a 3D scene (without doing the maths by hand)
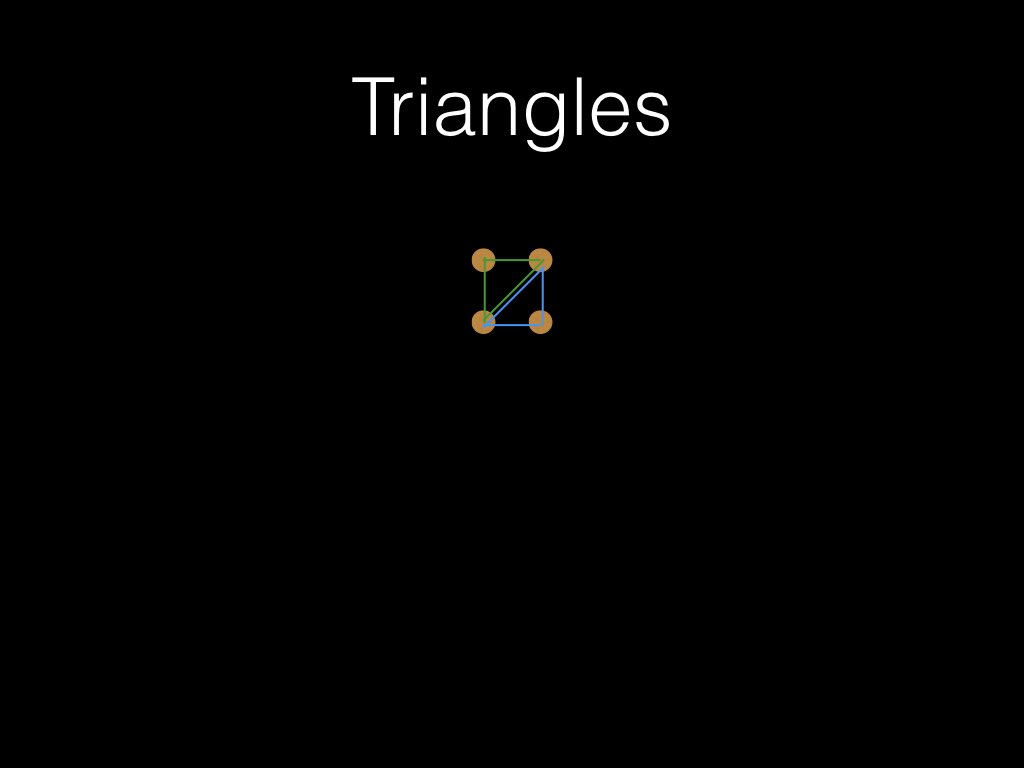
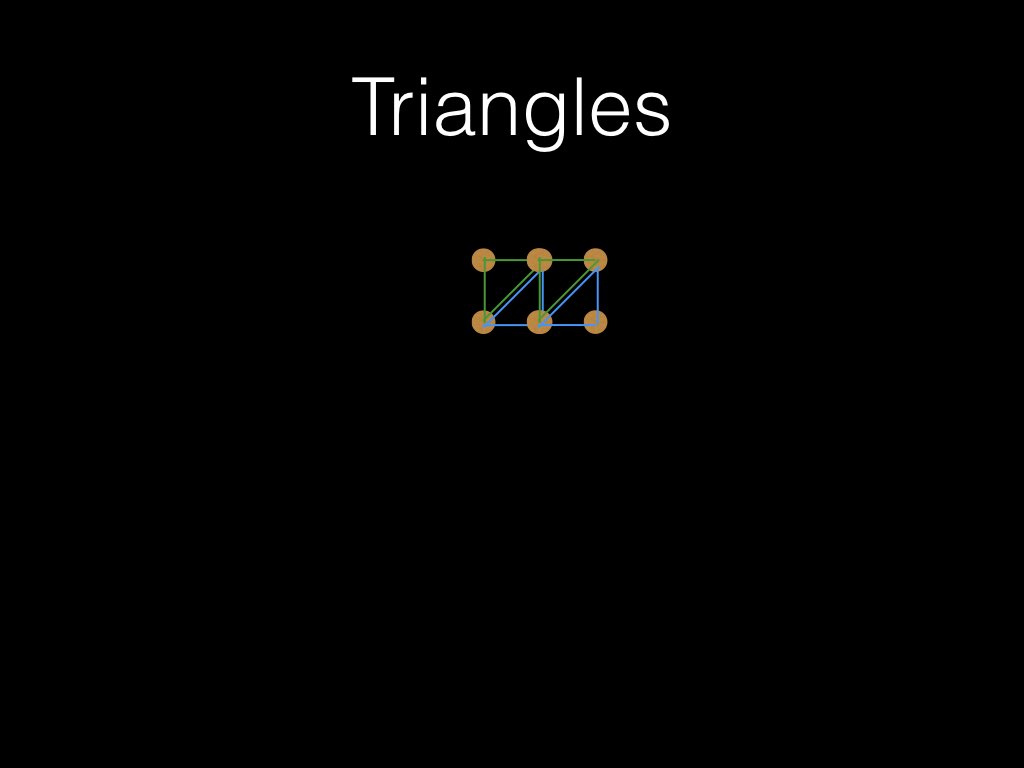
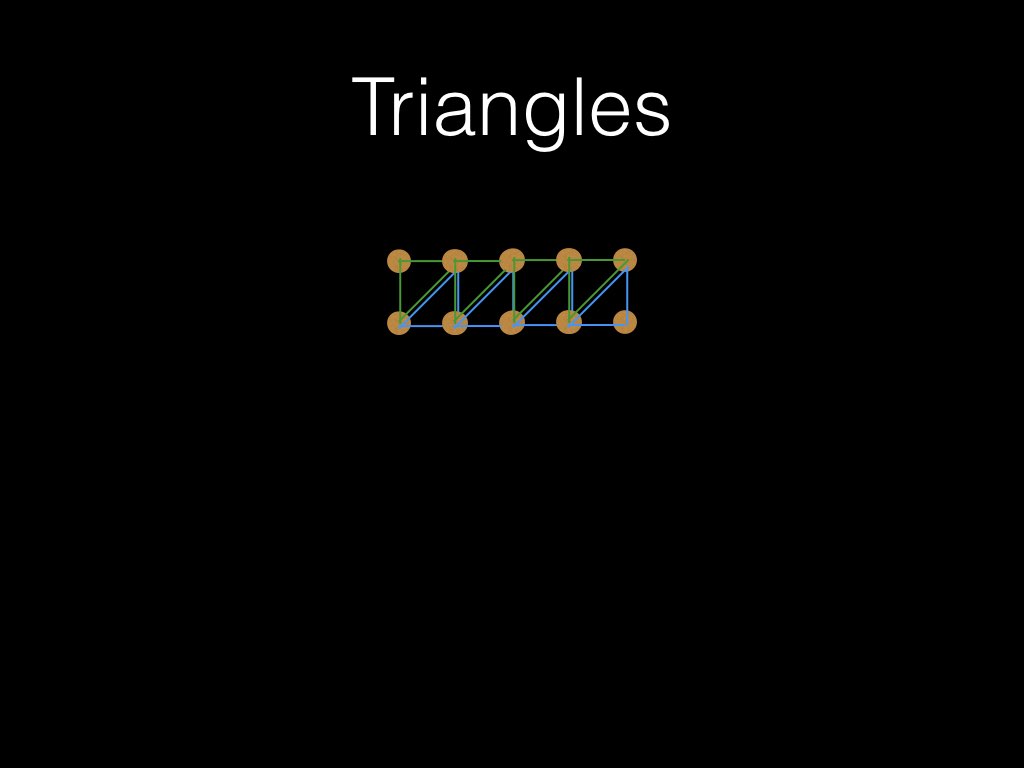
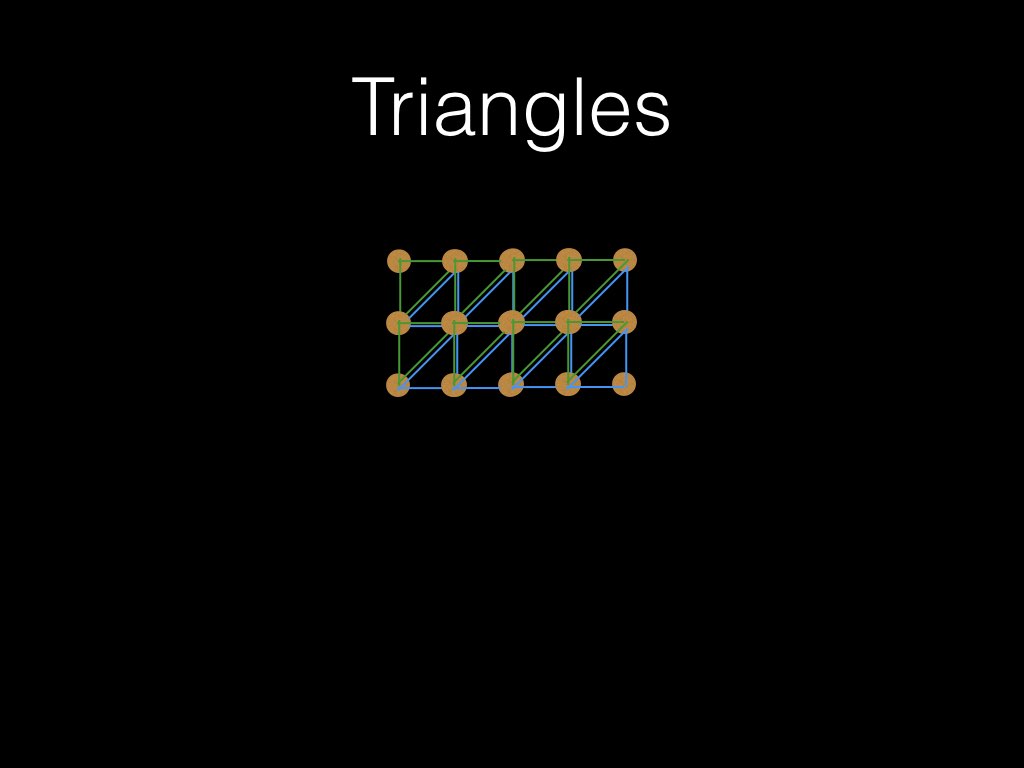
- Triangles - the cause of all the trouble
- Normals - what they are, why you need them, how to create them and use them
- You should now be familiar with variables, conditionals, and loops.
- Today we will be thinking more about scope
- We will also look at functions in more detail
- Further, we'll be using objects with specific methods defined by the Three.js API.
- https://threejs.org/docs/
- WebGl is a 3D graphics context based on OpenGL
- It allows you to work on something that is similar to the Fixed Function Pipeline (through the use of APIs like three)
- It also allows low-level access to the Programmable Pipeline (Shaders)
- Mr Doob is a genuinely fascinating character who has contributed huge amounts to the progression and use of WebGL
- Let's check out their website here: https://mrdoob.com/ - this could take some time.
- Mr Doob is the author of Three.js
- In general, what makes the library so damn useful, is that it has a very coherent API (Application Programming Interface), which he keeps great control of
- It also shares approaches that you will find in real-world openGL, so from that point of view, it's definitely worth learning
- Further to this, it allows you to use aspects of the OpenGL Programmable Pipeline, which is more or less all you can do in WebGL, as if you were using the Fixed Function Pipeline.
- This is super useful for all sorts of reasons, as it has the effect of maintaining openGL approaches across the web in clear ways.
- This is all because WebGL is an incredibly verbose language - much more so than openGL. This has been widely criticised and is not a controversial view at all.
- If you are still wondering who uses raw WebGl, the answer is, not even Greggman, the author of webGlfundamentals.
- They use TWIGL
- https://twgljs.org/
- Twigl is really fantastic, and probably the best way to program low-level WebGL. But it's not low-level WebGl.
- As Greggman says, "If you want to get stuff done use three.js. If you want to do stuff low-level with WebGL consider using TWGL."
-
Let's go here and take a look at some examples. https://threejs.org/
-
You can find the github here if you're interested https://github.com/mrdoob/three.js/
-
In many cases, specifically where common forms of representation are being used (human characters for example), models are prepared outside of the rendering engine, then imported.
-
In these cases, models are often groups of meshes, rather than one mesh. They may also have animations associated with them.
-
In modern openGL, any element can be treated as an openGL NODE. Nodes can have parents, and children.
-
Transforms affecting parents also affect children.
-
You can have lots of children - e.g. lots of body parts.
-
So you can think of models as groups of nodes organised in a hierarchy.
-
A model can also have all the features we are discussion today, baked in to the model for when you load it in the engine.
-
These features include parameters that say how they will react to lighting such as materials, normals), bump maps, and textures etc.
-
They will also have specific information about how the model can be deformed.
-
The entire package is a Resource.
-
We're going to be using basic geometry with Three.js
-
But there's nothing stopping you from using models if you want.
-
You can create, load, save and export models using Blender, which is a really fantastic piece of software:
- Let's look at our basic Three.js example in detail.
- You can find it here:
- Here we are going to look at lots of things:
- Basic Geometry, Materials, Meshes, Textures and Lighting.
- There are a group of objects in the scene that are standard and that you always need.
var camera = new THREE.PerspectiveCamera(70, window.innerWidth / window.innerHeight, 1, 1000);
// We need to create a scene and add things to it.
var scene = new THREE.Scene();
// Now we are goint to create some built in geometry
// It's a box.
var geometry = new THREE.BoxGeometry(200, 200, 200);
// We are going to want to texture the box.
// To do this we need a texture loader object to load the texture
var myTextureLoader = new THREE.TextureLoader();
// Then we can load the texture into a variable
var myTexture = myTextureLoader.load('sgpic10.jpg');
// Now we need to create a material
// This defines how the surface of the object reflects light
// We're using Phong. There are lots of other types.
var material = new THREE.MeshPhongMaterial({map: myTexture});
// We can now create a mesh using the geomentry and the material
var mesh = new THREE.Mesh(geometry, material);
// If we want to see stuff, we will need a light.
// The argument is the colour of the light in hexadecimal.
var light = new THREE.DirectionalLight("rgb(255,255,255)");
// Now we can create our renderer. Thiis renders the scene.

// There are lots of different kinds of renderers.
// They also have a lot of parameters!!
var renderer = new THREE.WebGLRenderer({ preserveDrawingBuffer: true });- The renderer here is slightly different to the one in the other example. What's the difference?
- You need to use this approach if you want to do dynamic geometry in three.js
- This example is a little advanced, so don't worry if you don't get it straight away.
- You don’t need to use the triangle rendering method
- But it is the hardest one to get your head round.
- Quad Strip is very handy
- Polygons are also great
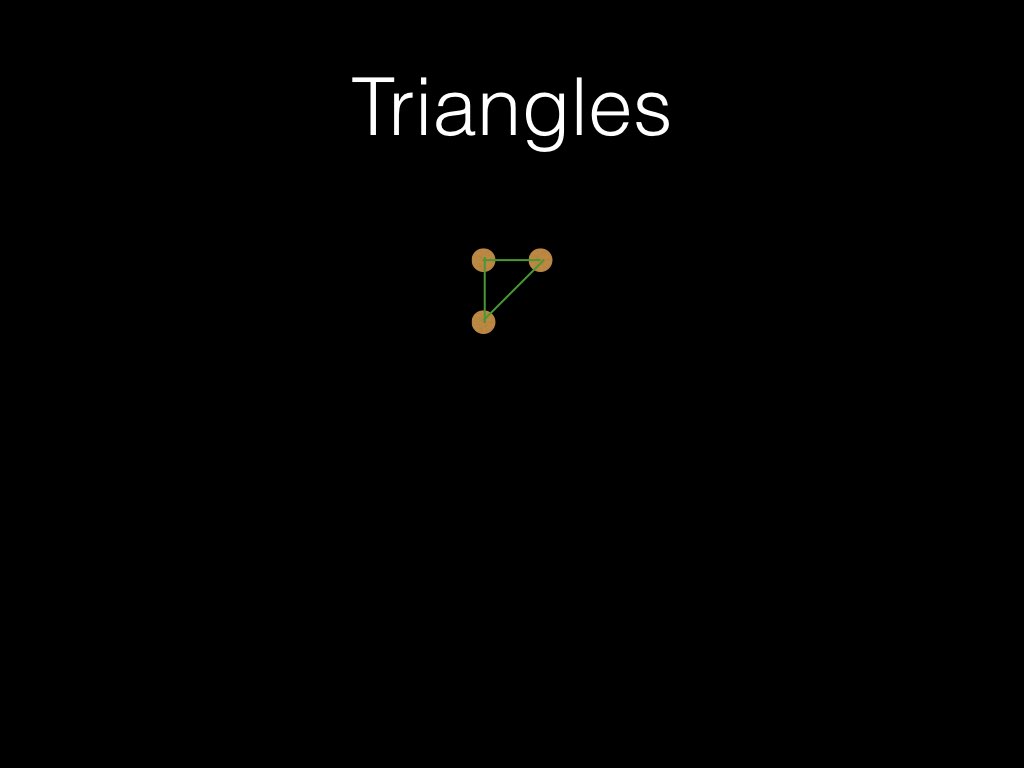
- Now you know how to organise points in a mesh to draw faces, you have a lot of skill.
- Most graphics programmers find this very hard :-)
- Three.js is based on WebGL, and can have lots of lights.
- OpenGL is limited to only 8, but you can create as many as you like using shaders :-)
- You can create and position various lights to illuminate a scene
- You can also adjust the ‘material’ properties of a 3D shape, to change how the object reacts to light
- These lights have various parameters, but basically they throw simulated light rays onto the scene.
- You can control how they do this very precisely
- There are 3 main lighting approaches in WebGL
- Ambient Light - the average emission from all sources in the scene
- Diffuse Light - directional light cast by a light source
- Specular Light - directional light that reflects off an object
- Ambient Light - this is flat shaded
- Diffuse Light - this makes it possible to create the illusion of depth when combined with ambient light
- Specular Light - this is the ‘shininess’ of the reflected light - can result in a highlight on an object, and infers something about the material being used
- There is also emissive light - which is related to the colour of the object you are lighting
- In Three.js, there are lots of lighting options. Explore them!
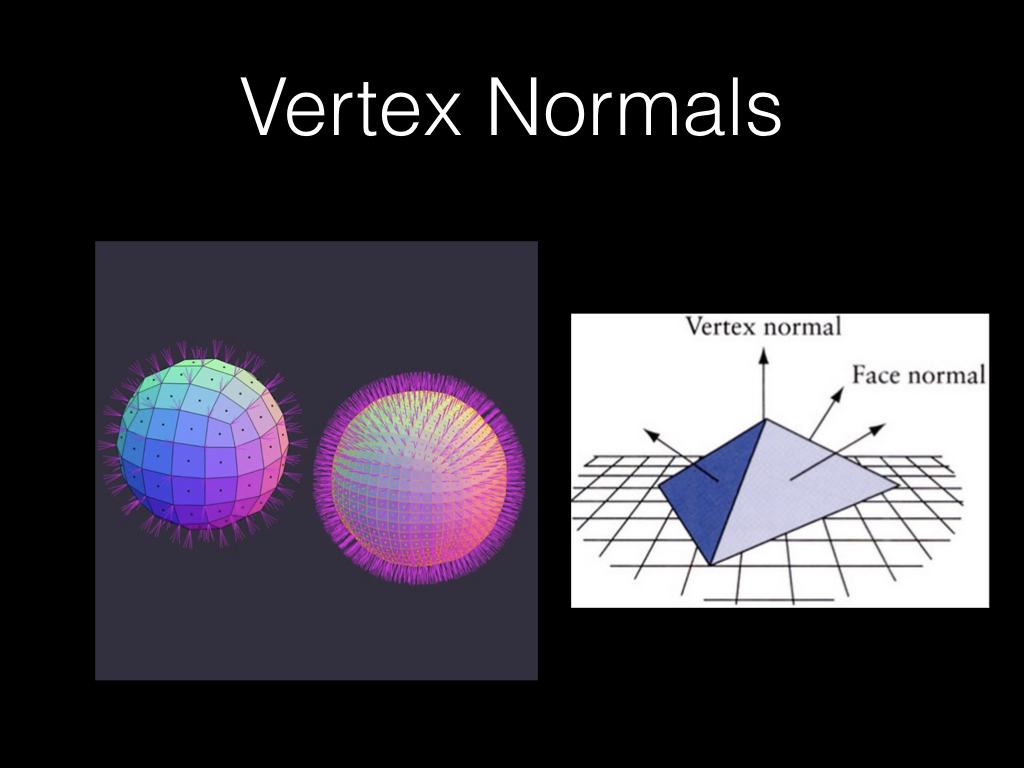
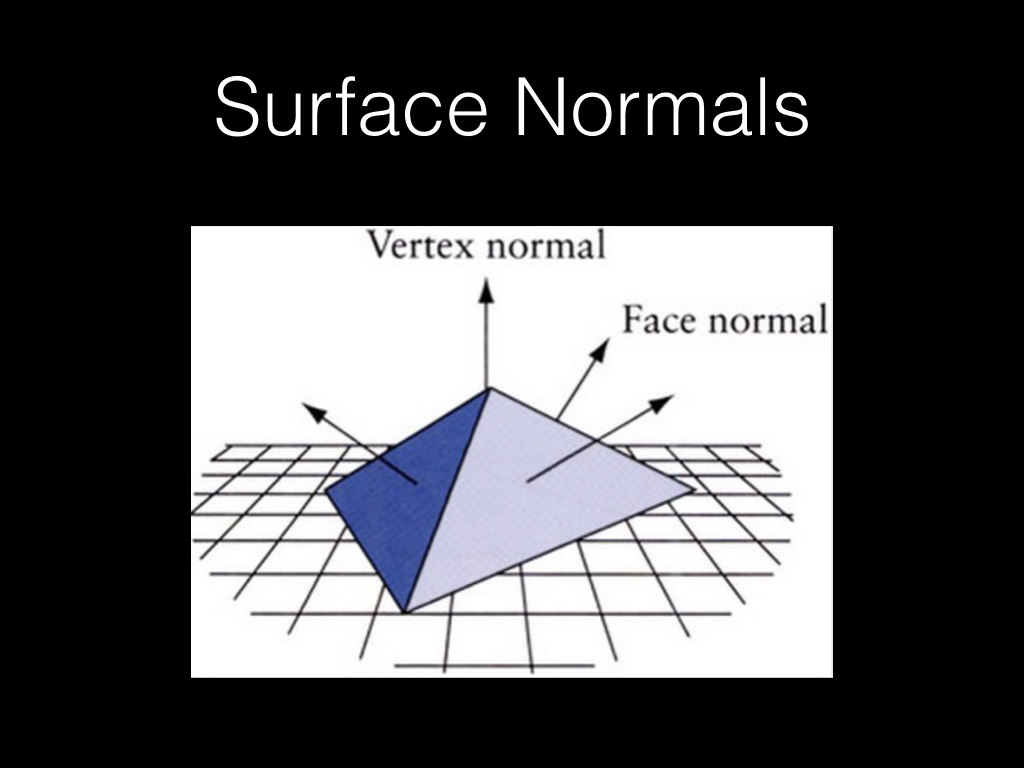
- A Normal is a vector perpendicular to the surface either from the surface centre, the vertex, or the object centre.
- Normals tell the renderer which direction the object or surface is facing.
- If the vertex Normal is pointing away from the viewer, you might not see the surface...
- We can invert normals very easily in Three.js
- We do this be specifying which side is the surface
- We can do this when we set the material properties
- Material.side = THREE.BackSide, or Material.side = THREE.DoubleSide
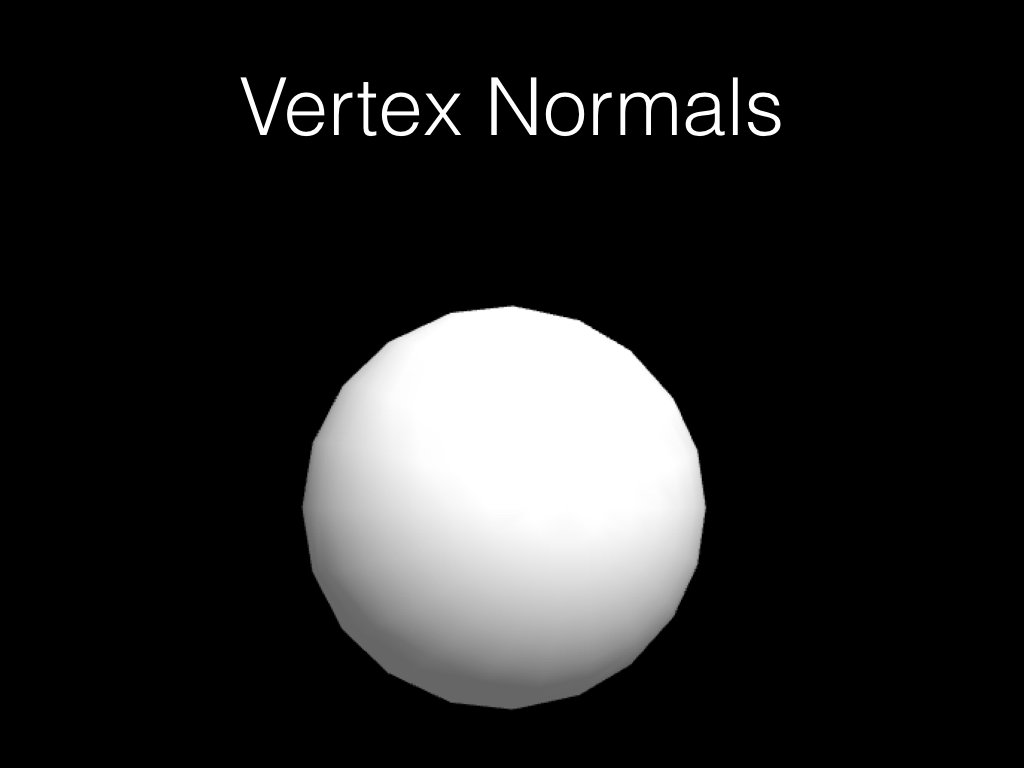
- When you have an object such as a sphere, with the origin in the centre, calculating the vertex normal is DEAD EASY
- The Vertex normal is the unit vector of the vertex position - the origin.
- This is because the unit vector of the vertex contains the direction that the vertex is going.
- The direction in these cases is perpendicular to the surface!!!
- Let's return to our example code and check out the normals https://mimicproject.com/code/cbba9b28-522f-089b-25c0-a23cde718b6b
- Bump maps are pretty great.
- They give the effect of altering the geometry by simply adjusting the direction of the normal.
- This makes the light reflect differently, just as if the geometry was a different shape.
- We'll look at these in more detail later.
- Texture mapping is the most powerful method of creating coloured surfaces.
- It’s a bit complex, and there are a few rules to remember.
- A texture needs to be uploaded to the graphics card
- Once there, you can bind it to the scene, draw with it, then unbind it.
- You can then bind a second texture in the same draw loop if you wish.
- This allows you to generate multi-textured scenes.
- You can also load textures very easily and apply them to meshes
- You can see this in the earlier example.
- When making 3D scenes, we use lights to generate more realistic looking environments
- In the example we’ve seen, there's an object lit with a texture.
- But we don’t have a sky.
- The easiest method for generating a sky is to do the following:
- Create a cube
- Invert the normals so that they point inwards, not outwards (sometimes you don't need to do this)
- Make the cube very large, so that it fills the screen in all directions.
- texture map it with some sky.
- This object is called a skybox
- They are super efficient, and you should use them
- First, explore the introductory example and try to create a scene with more than one object. Animate the objects, and try to load different textures. https://mimicproject.com/code/e252c3e4-ef71-774b-a9a0-870d8df20c0d
- Now, build a 3D world with a surface, a sky, and some foreground objects
- You can use built in primitives.
- Don't forget to use textures.
- Use the example as a starting point.