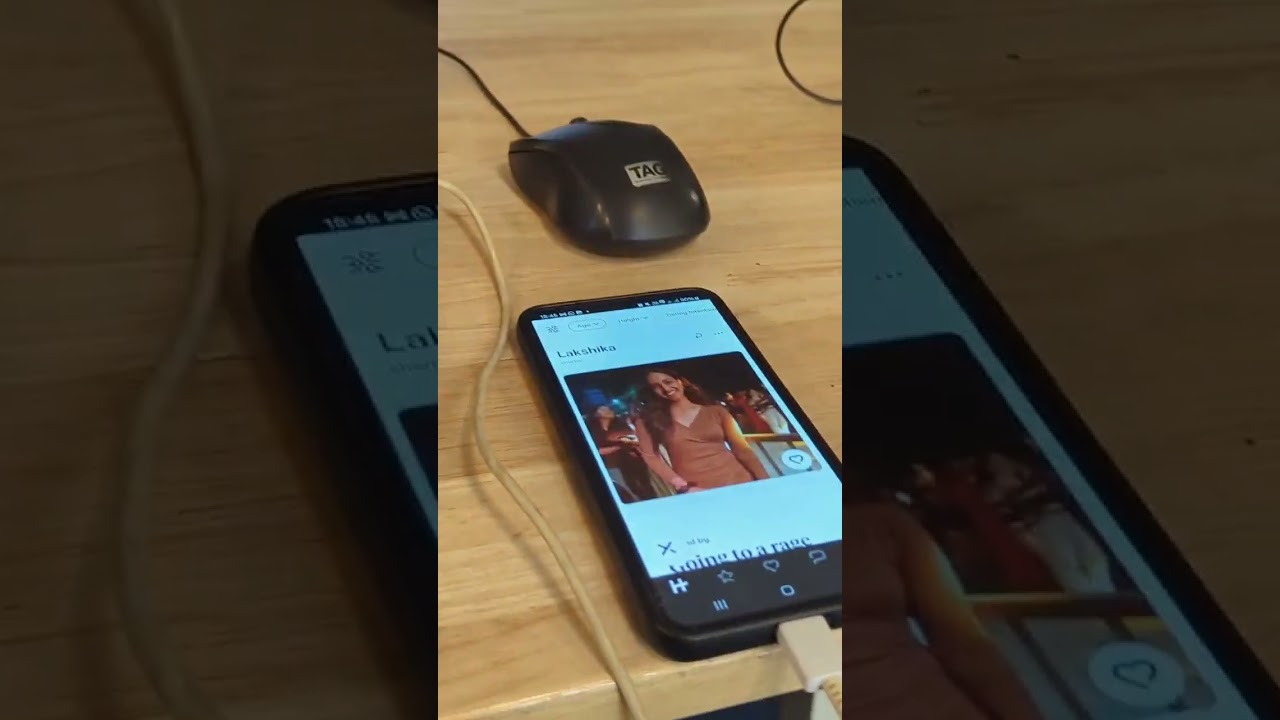
This project also demonstrates how to automate interactions with Hinge (a dating app) using a combination of the following tools and techniques:
- ADB (Android Debug Bridge): Automate device actions such as taps, swipes, and text input.
- Computer Vision (OpenCV): Detect and locate UI elements on the screen using feature-based and template matching methods.
- OCR (Tesseract via pytesseract): Extract text from screenshots to analyze profile descriptions or other textual content.
- LLM (OpenAI GPT-4): Generate personalized, human-like comments based on extracted text content.
By integrating these components, the script can make automated decisions (like or dislike profiles) and even respond with a custom-generated pickup line or comment.
- Connect to Android Device: Establish a connection to your Android device over ADB and retrieve screen resolution.
- Capture Screenshots: Save current device screen state to an image file.
- UI Element Detection: Locate buttons or icons using ORB feature matching and fallback template matching.
- Text Extraction: Use Tesseract OCR to read text content from on-screen images.
- Comment Generation: Use GPT-4 to create personalized, one-line comments based on the extracted profile text.
- Automated Actions: Simulate user input (taps, swipes, text entry) to interact with the app, such as liking or disliking profiles and inputting custom messages.
-
Python 3.x
-
ADB:
Install the Android SDK Platform Tools and ensureadbis accessible from your PATH. -
Device Setup:
- Enable Developer Options and USB Debugging on your Android device.
- Authorize your computer for USB debugging when prompted.
-
Python Libraries:
- pure-python-adb (ppadb) for ADB interactions:
pip install pure-python-adb
- OpenCV for computer vision:
pip install opencv-python
- Pillow for image handling:
pip install pillow
- pytesseract for OCR (requires Tesseract OCR engine installed on your system):
pip install pytesseract
- python-dotenv for environment variables:
pip install python-dotenv
- openai for GPT-4 integration:
pip install openai
- pure-python-adb (ppadb) for ADB interactions:
-
Tesseract OCR Engine:
- Windows: Download the installer here.
- macOS/Linux: Install via Homebrew (
brew install tesseract) or your package manager.
-
Add your OpenAI API Key: Create a
.envfile in the project directory to add your OpenAI key and phone's IP address:OPENAI_API_KEY=your-api-key
-
Build the docker container:
docker build -t my-ocr-bot -f .\docker\Dockerfile . -
Run the docker container:
docker run my-ocr-bot
Note: To debug: In case of weird behaviour, open the container and check what's up.
docker build -t my-ocr-bot -f docker/Dockerfile .
To properly run the container with volume mapping (so files can be saved to your desktop):
docker run -d --name pitchperfect -v ~/Desktop:/app/desktop -v $(pwd)/results:/app/results my-ocr-bot
This command:
- Maps your Mac desktop to
/app/desktopinside the container - Maps the local
resultsfolder to/app/resultsinside the container - Ensures files saved in the container can be accessed from your host system
If files aren't being saved to your desktop:
- Make sure you've started the container with the volume mounts as shown above
- Check if the container has proper permissions to write to these directories
- Verify the container is running with:
docker ps - For debugging, run the test script:
docker exec -it pitchperfect python /app/test_volume_mount.py
To delete an existing container with the same name before creating a new one:
docker rm -f pitchperfect 2>/dev/null || true
This command:
- Attempts to force remove (-f) a container named "pitchperfect"
- Suppresses any error messages if the container doesn't exist
- The
|| trueensures the command succeeds even if no container is found
To build the image and run the container in one command:
docker build -t my-ocr-bot -f docker/Dockerfile . && docker run -d --name pitchperfect -v ~/Desktop:/app/desktop -v $(pwd)/results:/app/results my-ocr-bot
To delete any existing container, build the image, and run a new container:
docker rm -f pitchperfect 2>/dev/null || true && docker build -t my-ocr-bot -f docker/Dockerfile . && docker run -d --name pitchperfect -e DATING_APP=bumble -v ~/Desktop:/app/desktop -v $(pwd)/results:/app/results my-ocr-bot
docker rm -f pitchperfect 2>/dev/null || true && docker build -t my-ocr-bot -f docker/Dockerfile . && docker run -d --name pitchperfect -e DATING_APP=hinge -v ~/Desktop:/app/desktop -v $(pwd)/results:/app/results my-ocr-bot
For debugging or manual operations, access the container shell:
docker exec -it pitchperfect /bin/bash
To connect wirelessly from shell:
adb tcpip 5555

adb connect 192.168.X.Y:5555
When working with a single device:
adb shell screencap -p /sdcard/screen.png && adb pull /sdcard/screen.png ~/Desktop/device_screenshot_$(date +%Y%m%d_%H%M%S).png && adb shell rm /sdcard/screen.png
When multiple devices are connected, specify the device ID:
adb -s DEVICE_ID shell screencap -p /sdcard/screen.png && adb -s DEVICE_ID pull /sdcard/screen.png ~/Desktop/device_screenshot_$(date +%Y%m%d_%H%M%S).png && adb -s DEVICE_ID shell rm /sdcard/screen.png
For this specific device (2B251JEGR10752):
adb -s 2B251JEGR10752 shell screencap -p /sdcard/screen.png && adb -s 2B251JEGR10752 pull /sdcard/screen.png ~/Desktop/device_screenshot_$(date +%Y%m%d_%H%M%S).png && adb -s 2B251JEGR10752 shell rm /sdcard/screen.png
To list available device IDs:
adb devices