-
Notifications
You must be signed in to change notification settings - Fork 0
Setup eclipse to develop vrapper
THIS PAGE NEEDS TO BE UPDATED (plus I need to fix the images)
This page describes the steps necessary for setting up your own environment for Vrapper development. It assumes you already have a GitHub account and that you've forked the Vrapper repository. Also, I'm not going to describe how to actually push code to GitHub. This is partially because there are plenty of tutorials online for doing this but also because I don't really know the right way to do it and I don't think I've been using eGit correctly. I'd rather not explain my ignorant way of using eGit.
1. Download 'Eclipse for RCP and RAP Developers' from http://eclipse.org/. This version of Eclipse contains the RCP libraries for plugin development and the eGit plugin we'll be using to connect to GitHub.
http://vrapper.sourceforge.net/img/setupEnv/01.png

2. Extract Eclipse wherever you want, launch Eclipse.
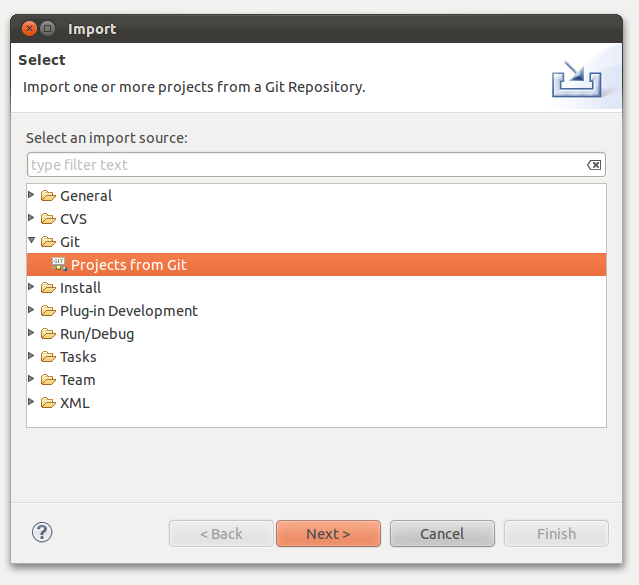
3. Go to File -> Import and select 'Import Projects from Git'.
http://vrapper.sourceforge.net/img/setupEnv/02.png
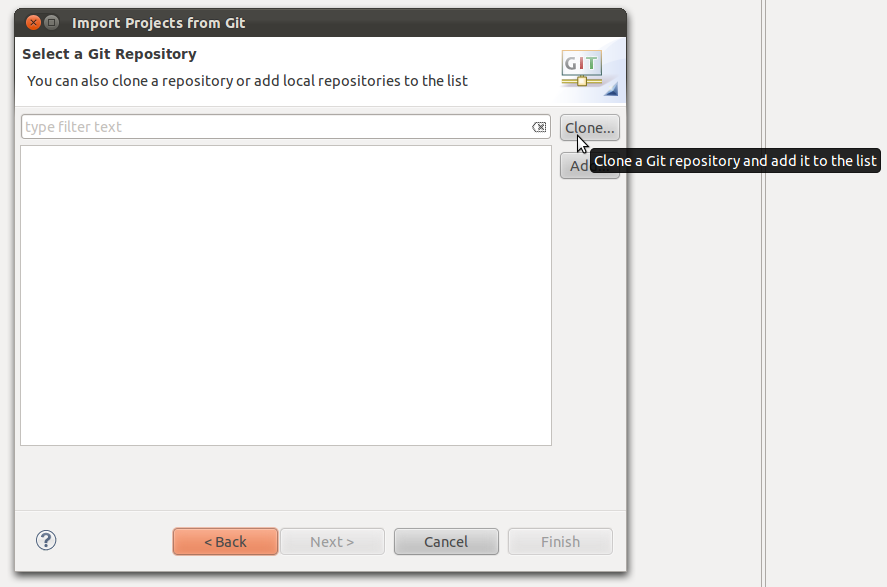
4. Click the 'Clone...' button.
http://vrapper.sourceforge.net/img/setupEnv/03.png
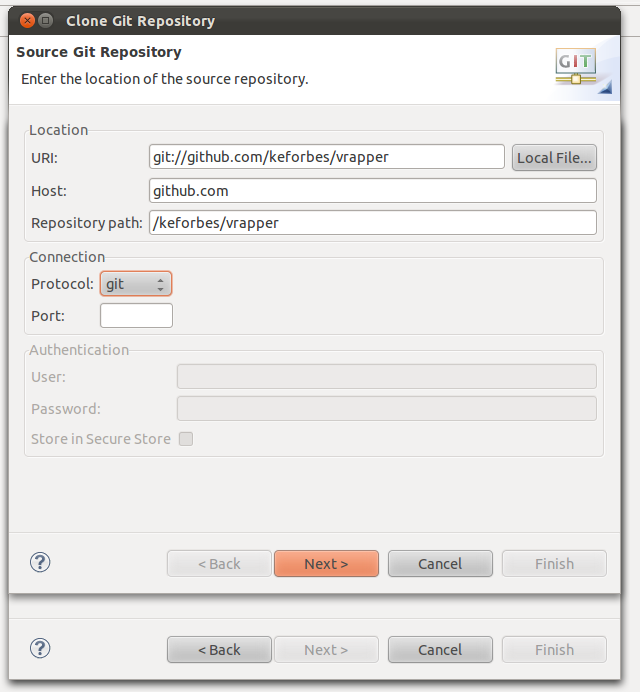
5. Enter git://github.com/<your GitHub username>/vrapper in URI. Host and Repository Path will be automatically filled in. Click Next.
http://vrapper.sourceforge.net/img/setupEnv/06.png
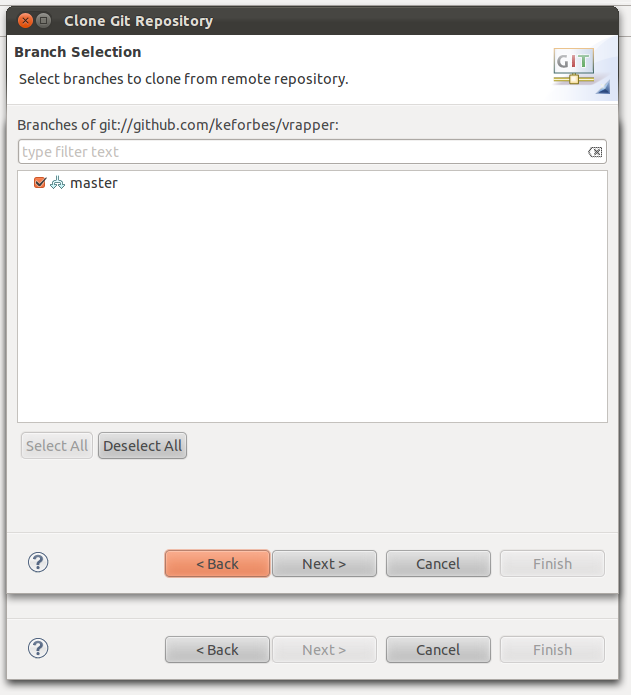
6. Make sure 'master' branch is selected and click Finish. This will checkout the code to <your user home>/git/vrapper/. If you don't want the code stored in that directory, click Next rather than Finish to change it.
http://vrapper.sourceforge.net/img/setupEnv/07.png
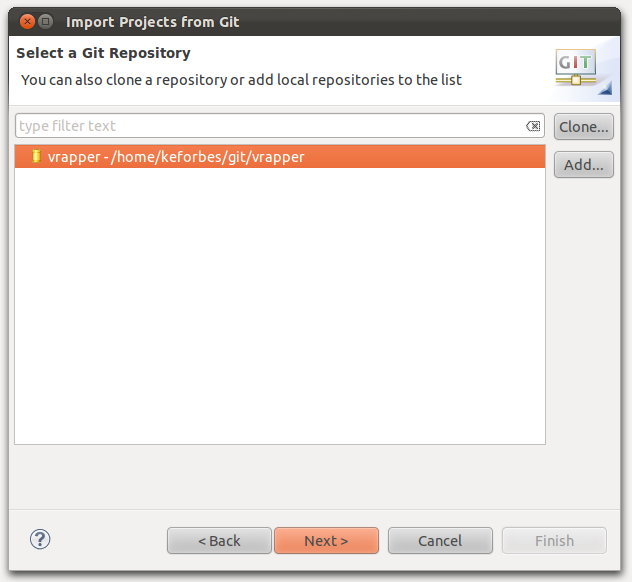
7. You should now have a new repository in the Import Projects from Git dialog. Make sure it is selected and click Next.
http://vrapper.sourceforge.net/img/setupEnv/08.png
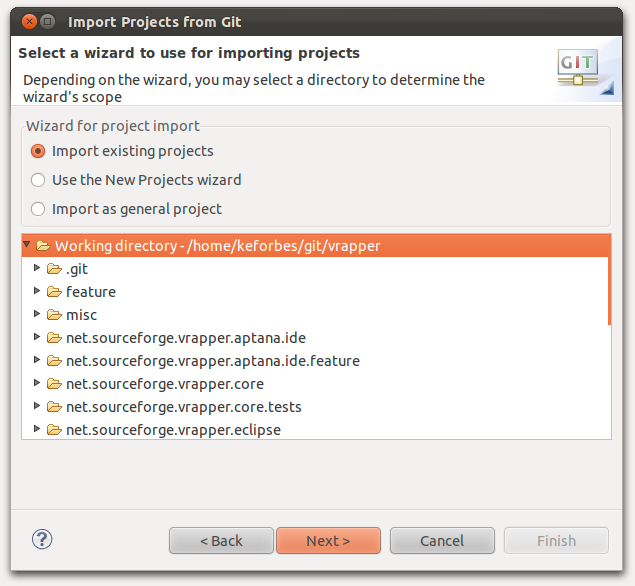
8. Leave 'Import existing projects' selected and click Next.
http://vrapper.sourceforge.net/img/setupEnv/09.png
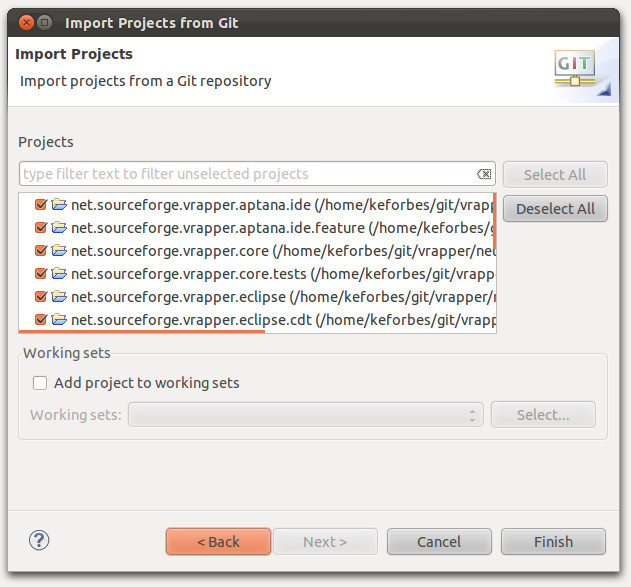
9. Make sure all projects are selected, and click Finish.
http://vrapper.sourceforge.net/img/setupEnv/10.png
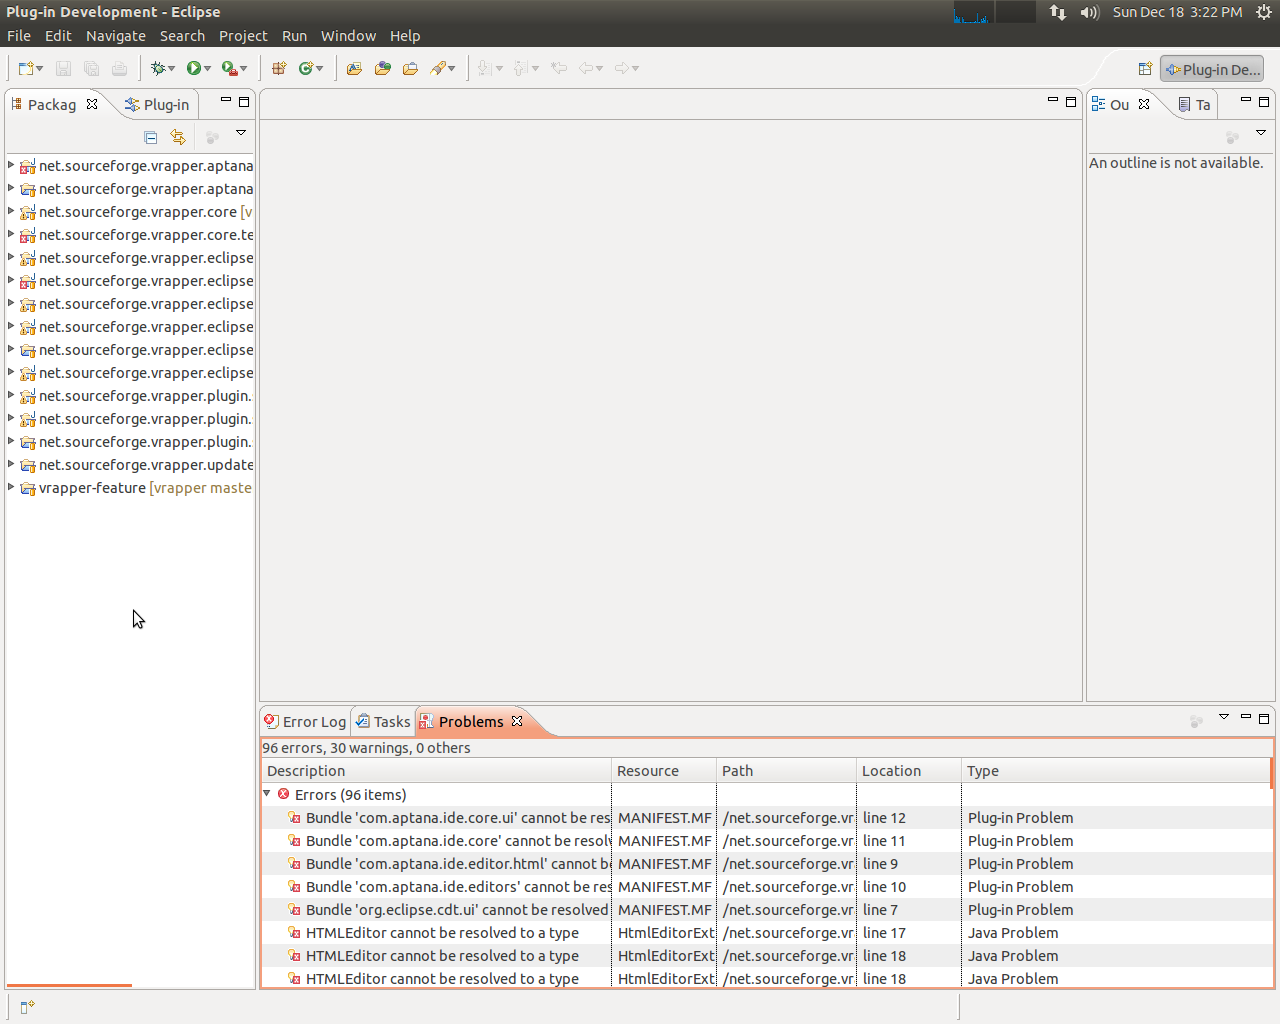
10. You should now have all the code checked out, with lots of errors about bundles not being resolved. This is because they're depending on libraries you don't have installed.
http://vrapper.sourceforge.net/img/setupEnv/11.png
11. If you want to work on the CDT plugin, install the CDT package. Otherwise, close the CDT projects as well.
http://vrapper.sourceforge.net/img/setupEnv/12.png
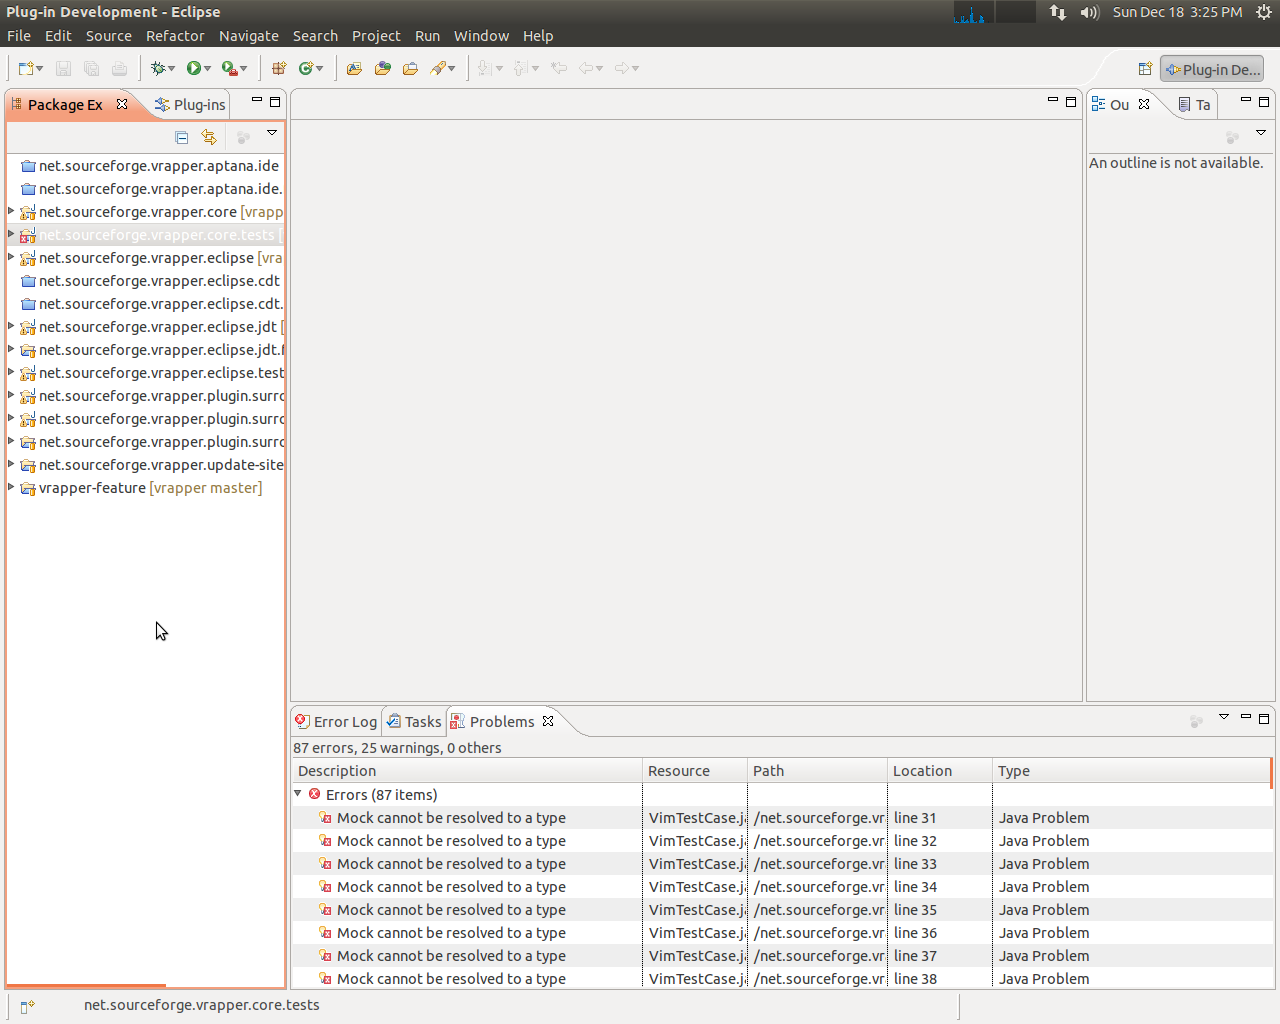
12. There are still errors in net.sourceforge.vrapper.core.tests. This is because we're missing Mockito. Download mockito-all-1.9.0.jar from http://code.google.com/p/mockito/.
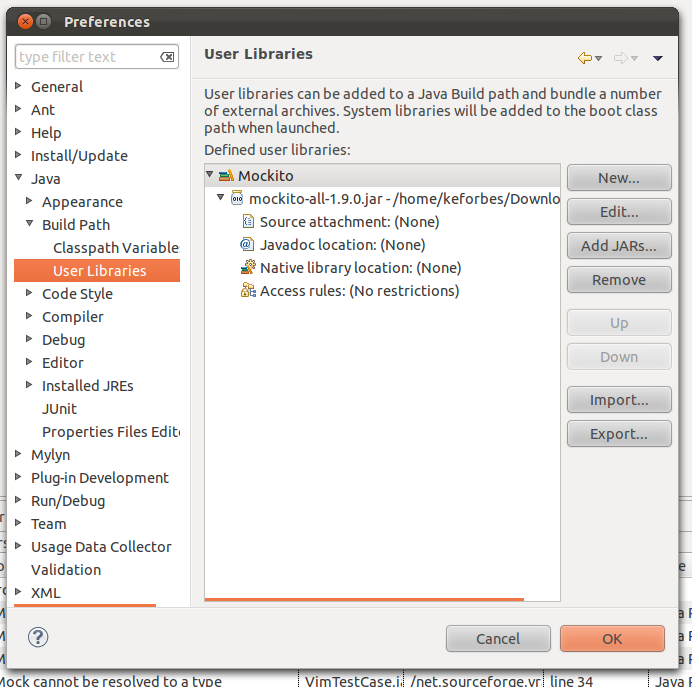
13. Go to Preferences -> Java -> Build Path -> User Libraries. Click "New..." and enter "Mockito". Select Mockito and click "Add JARs...". Select the mockito jar file you just downloaded.
http://vrapper.sourceforge.net/img/setupEnv/13.png
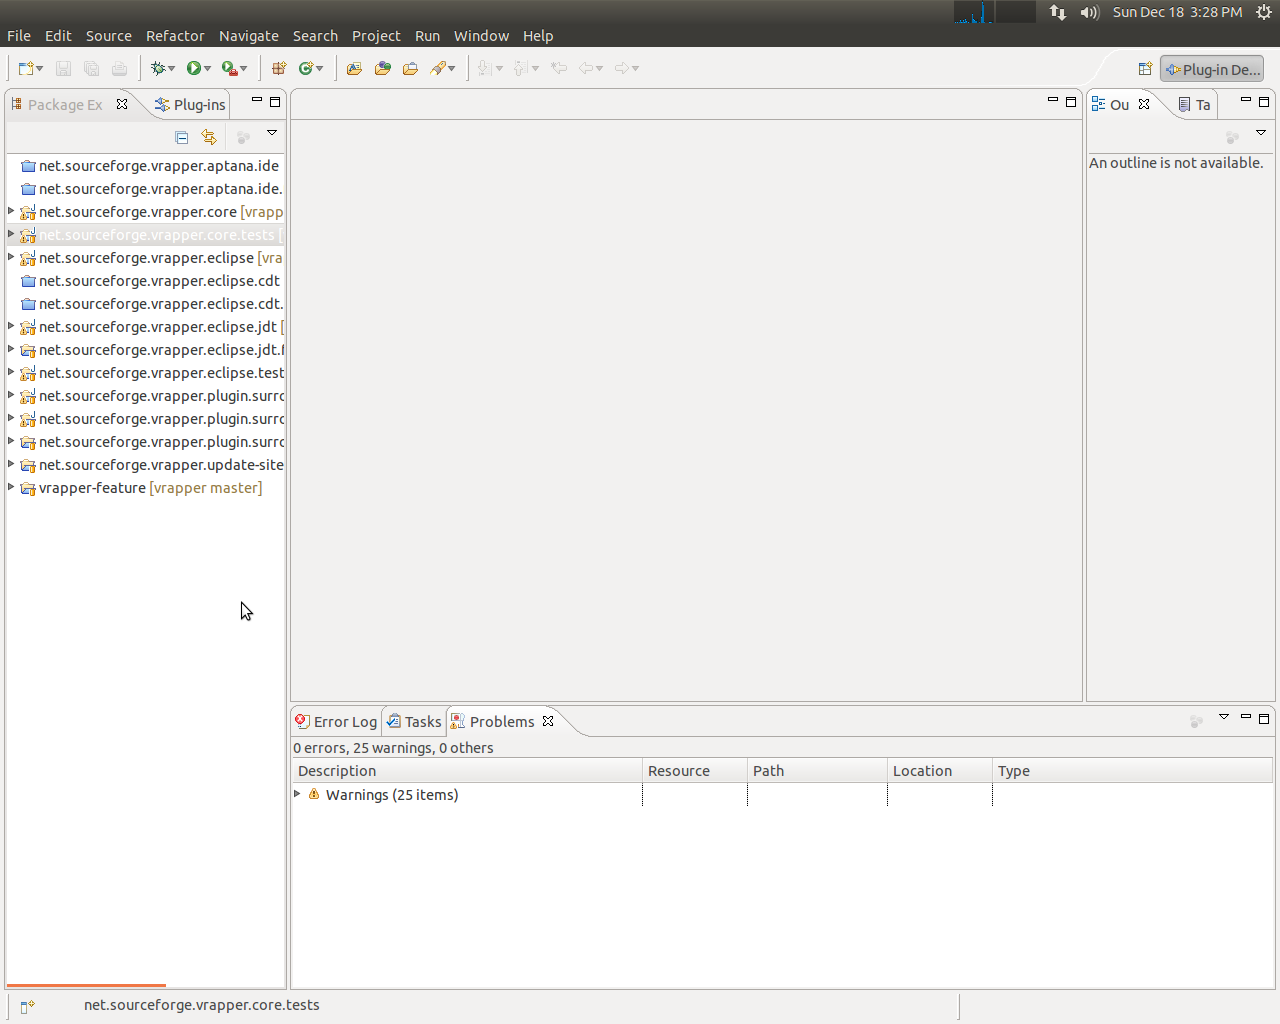
14. All errors should now be gone!
http://vrapper.sourceforge.net/img/setupEnv/14.png
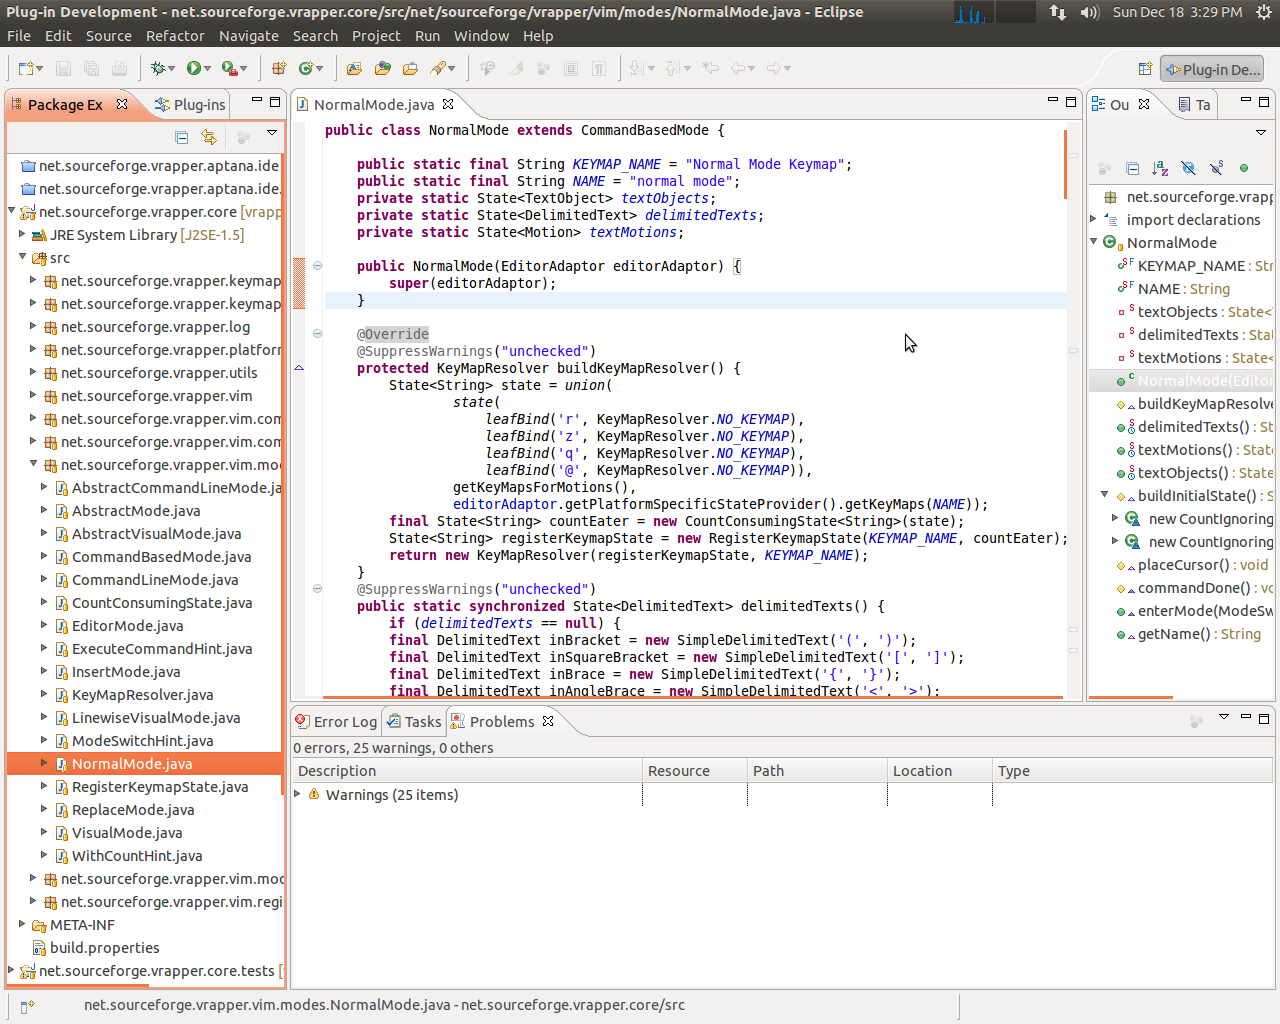
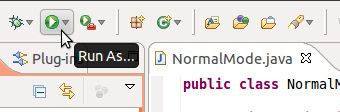
15. Open a file in the net.sourceforge.vrapper.core project (like NormalMode.java)
http://vrapper.sourceforge.net/img/setupEnv/15.png
16. Click the 'Run' button.
http://vrapper.sourceforge.net/img/setupEnv/16.png
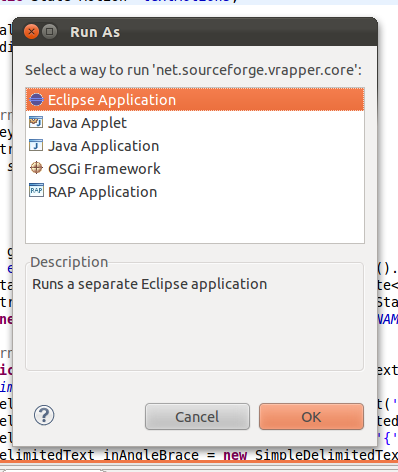
17. Select "Eclipse Application" in the resulting dialog.
http://vrapper.sourceforge.net/img/setupEnv/17.png
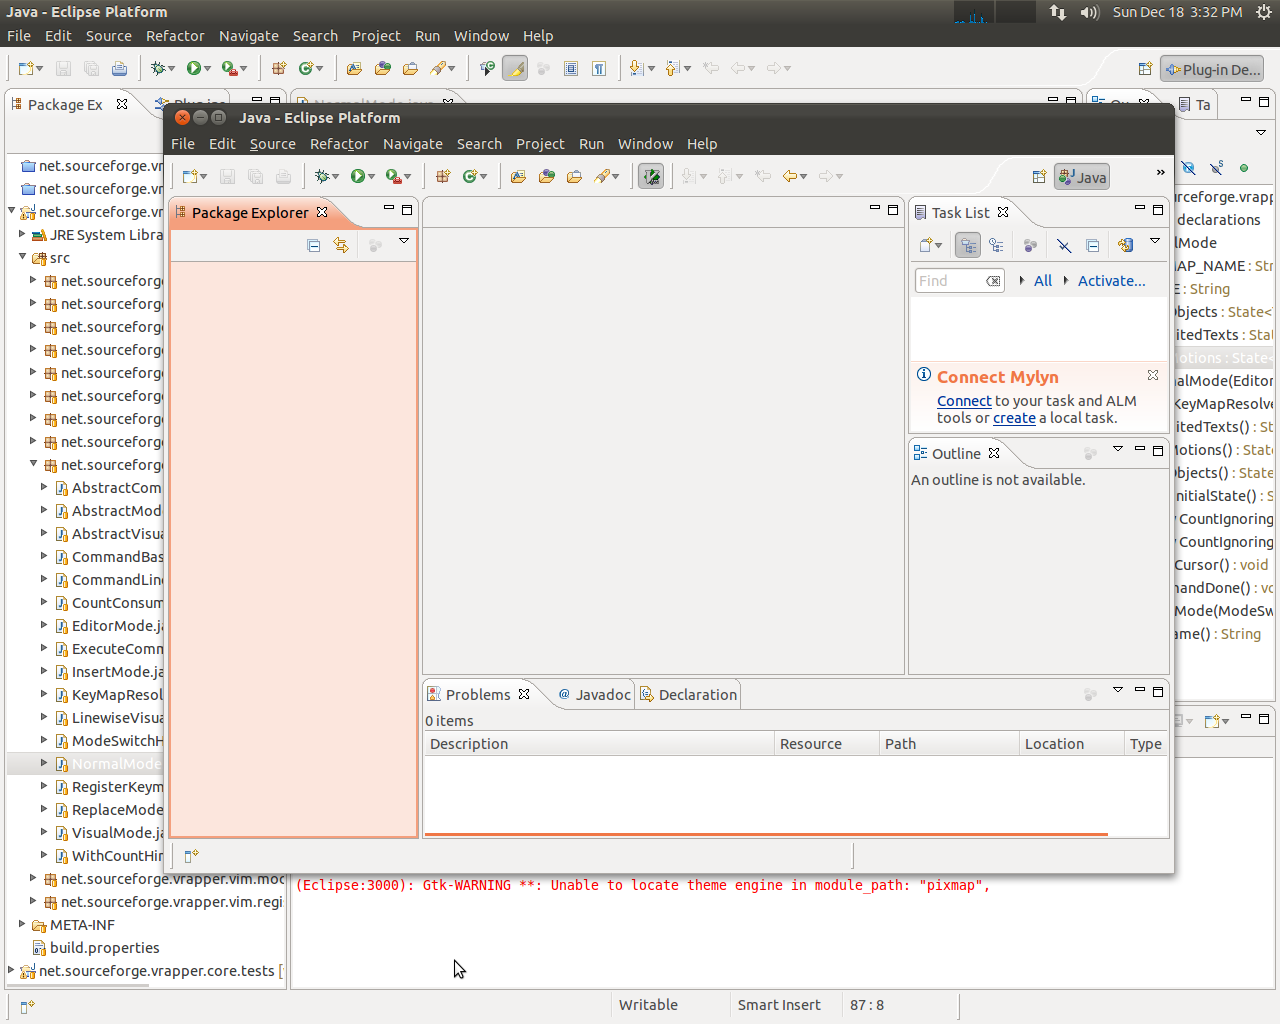
18. This will launch a new instance of Eclipse. This new instance is running your version of the vrapper plugin.
http://vrapper.sourceforge.net/img/setupEnv/18.png
19. In this running version of eclipse, create a new project with a new file. This is typically how I test vrapper features I'm working on.
http://vrapper.sourceforge.net/img/setupEnv/19.png
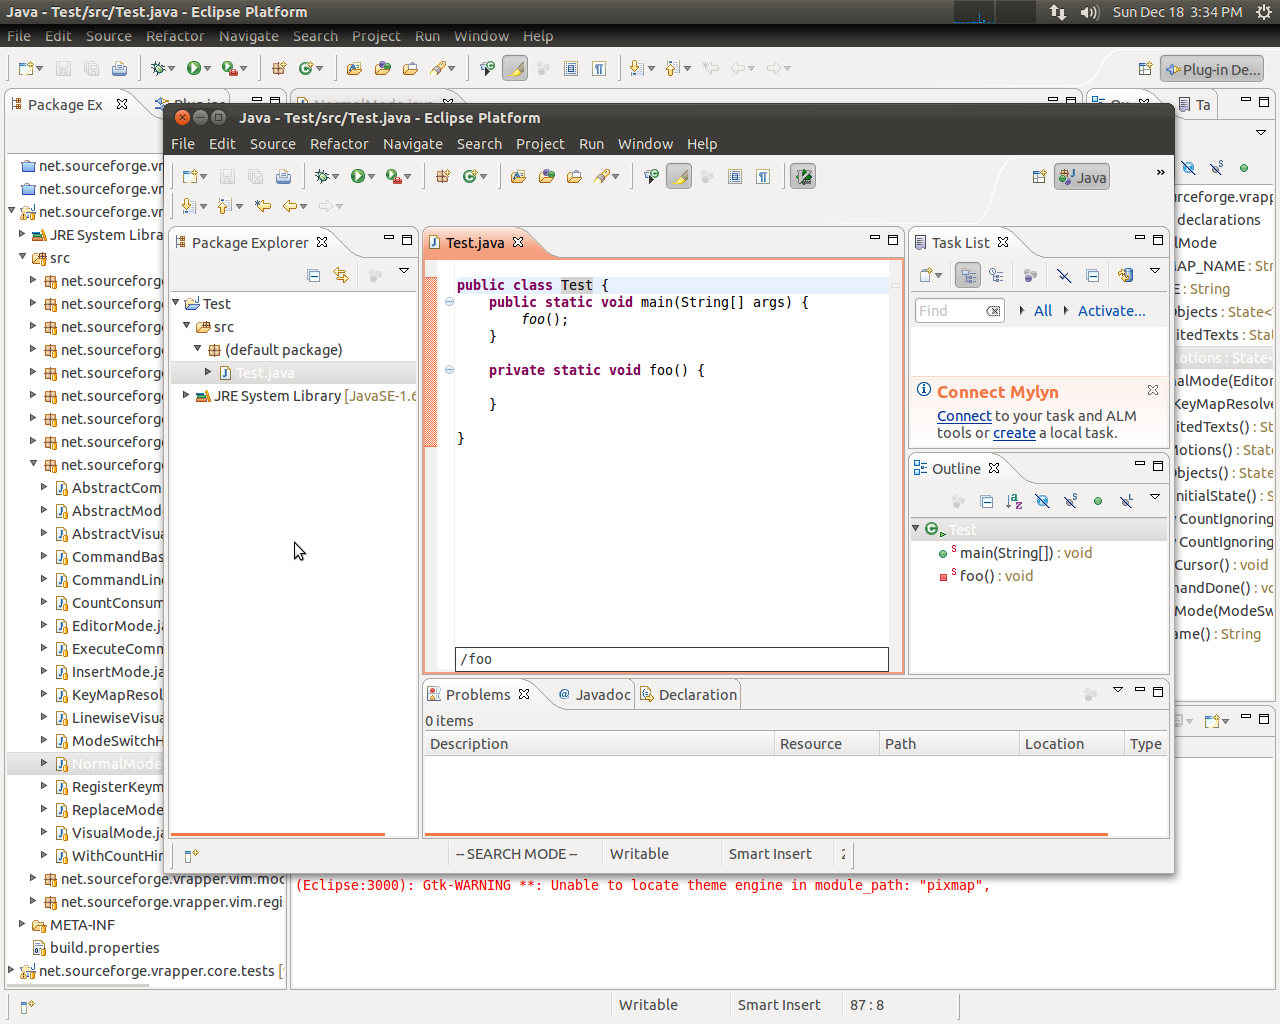
20. You can now play with the code and test your changes!